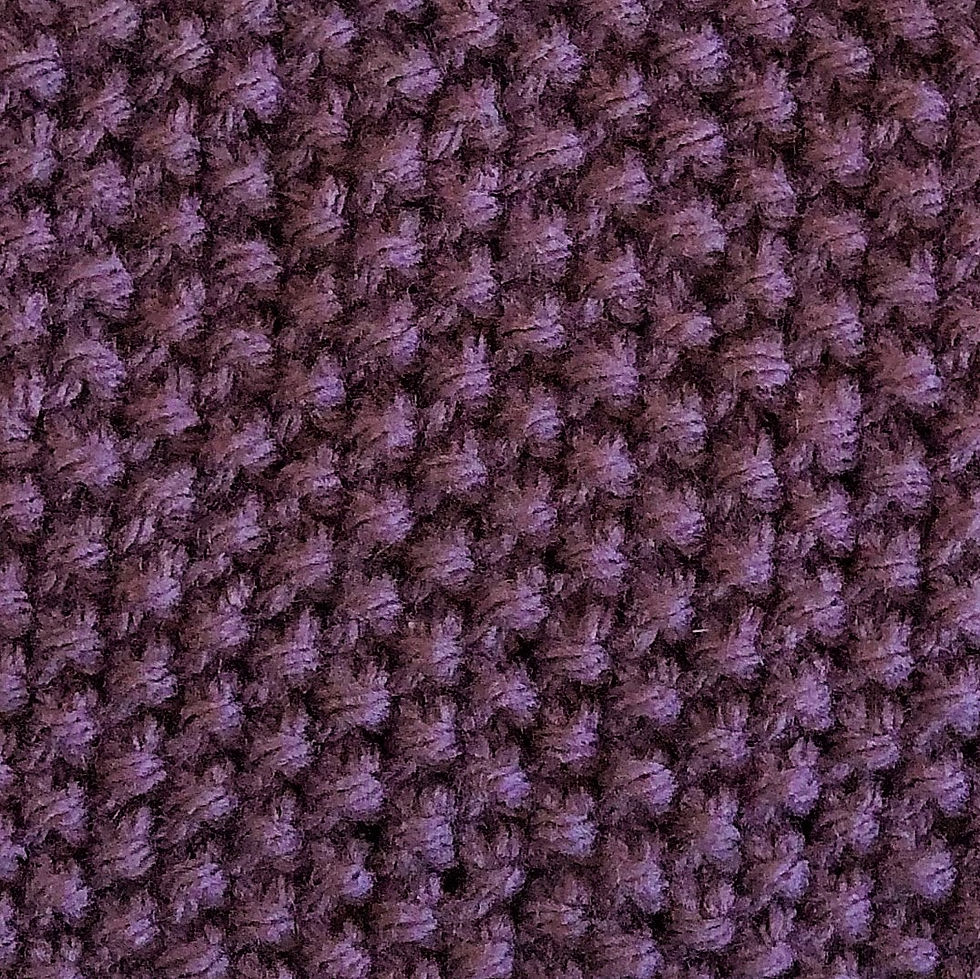
Swatch It Up KAL Block 1: Seed Stitch
- The Crafty M.D.

- Jan 25, 2021
- 3 min read
Updated: Mar 4, 2021
Are you ready to get this show on the road? 'Cuz I definitely am! I'll be brief, but let's do a quick recap of the rules.
1) Flo has decided on the stitches that we will be making over the next 12 weeks or so. She will be posting video tutorials on Instagram IGTV, so make sure to check her feed HERE
2) At the end of this journey, you should have a boxy, oversize, drop shoulder sweater to wear.
3) I am upsizing the "gauge swatches" to set measurements for your size, below.
4) You don't have to use these measurements! If you want to customize sleeve length, sweater length, or fit, there are some handy dandy calculations in the intro post for you to do that. You can get to that by clicking HERE . There are also some tips a the bottom of this post if you are doing that as well. I still recommend reading through the stitch instructions first.
That should be about it. So let's get into it with our first stitch! Here's what you'll need:
Materials
Approximately 71 (81, 89, 97, 107) (115, 123, 135, 139) yards of Worsted Weight Yarn
US size 8 knitting needles
Tapestry Needle
Measuring Tape
THE SEED STITCH

Notes
The seed stitch uses a two row repeat of knits and purls to create a simple, textured stitch. When knitting the seed stitch, alternate (K1, P1) across an odd number of stitches and finish with a K1. The next row, begin with a K1 and alternate (P1, K1) across the remaining stitches. You then repeat these two rows until your desired length – as simple as that!
Gauge
15st x 24r =4 x 4" (10cm)
Tip: pay attention to this, especially if you are modifying the pattern.
Abbreviations
K - Knit
P - Purl
RS - Right side
WS - Wrong Side
Finished Size
Do NOT measure the stockinette border. This will be used for seaming and shouldn't contribute to the finished size of the sweater.
Sizes are width x length
XS: 9 x 11.25 in (23 x 28.5 cm)
S: 10 x 11.5 in (25.5 x 29.5 cm)
M: 11 x 11.75 in (28 x 29.5 cm)
L: 12 x 11.75 in (30.5 x 30 cm)
XL: 13 x 12 in (33 x 30.5 cm)
2X: 14 x 12 in (36 x 30.5 cm)
3X: 15 x 12 in (38.5 x 30.5 cm)
4X: 16 x 12.25 in (41 x 31 cm)
5X: 17 x 12.25 in (43.5 x 31 cm)
Instructions
Cast on 37 (41, 45, 49, 53) (57, 61, 65, 67) sts
Row 1: Knit across (rs)
Row 2: Purl across (ws)
Row 3: K2, *P1, K1* repeat from * to * until three stitches are left in the row, P1, K2
Row 4: P2, *P1, K1* repeat from * to * until three stitches are left in the row, P3
Repeat rows 3 and 4 for a total of 70 (72, 72, 72, 74) (74, 74, 76, 76) rows OR until indicated length, ending with a ws row (again, dp not measure the first 2 stockinette rows).
Row 5: Knit across
Row 6: Purl across
Bind off
If you are going to alter the pattern, the gauge for this is:
15st x 24r =4 x 4" (10cm)
Plug this into the final equations for the Bust Blocks:
Gauge st x gauge row = 4 x 4 inches
_____ (bust block width) x ( _____Gauge st / 4”) = # sts _____
_____ (bust block length) x ( _____Gauge rows / 4”) = # rows _____
Once you have your stitch and row count, use those numbers in the pattern instructions above.
* * *
Some people have also expressed a desire to use a yarn weight other than worsted weight. I will not be able to grade this across multiple weights, unfortunately. You can attempt to meet gauge with a different weight, but I do not recommend it because the density of the piece will change and probably be more stretchy than you want.
What I recommend is creating your own gauge swatches for the stitches, using a needle that works with your yarn weight. This means you have more work and math in your future. Once you get your gauge, you can plug them into the body block calculations as usual to get your stitch and row count.

Still having some trouble? Flo recommends these videos if you need some more help
Check out Joann's video for some quick tips
or
Studio Knit for a more detailed explanation
Post this graphic to your social media if you're taking part in the KAL, and use the hashtag #swatchitup21 so we can see your progress.
Check back here next week to learn the Sand stitch.


Comments